

User guide2 min
Workspace settings
Workspace settings has two cards. One renames the workspace. The other holds the Google PageSpeed API key that every site in the workspace uses to measure Core Web Vitals (Google's page speed scores).
How to get there#
The screen is called General. It is under Settings in the workspace sidebar.
- 1
Go to the workspace
Leave any site you have open, so the sidebar shows Sites, Workspace alerts and Reports at the top.
- 2
Under Settings, choose General
It is above Members and the Billing screen. On a phone, the same entry is called Settings.
app.pixyscan.com/w/…/settings
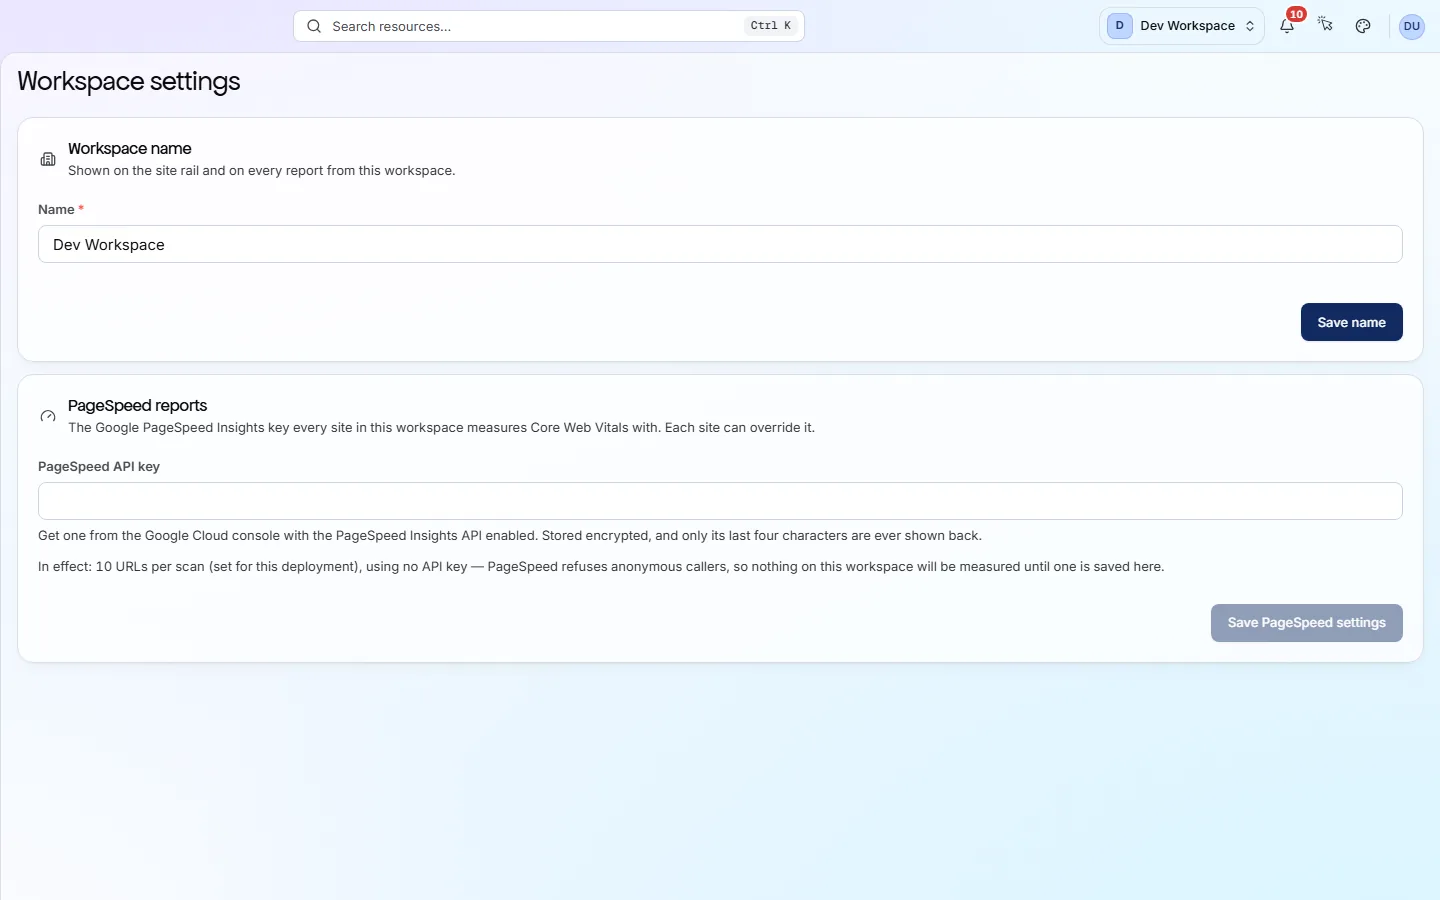
What is on it#
Two cards, each saved on its own.
| Field | Default | What it does |
|---|---|---|
| Name | Set at creation | The workspace name, shown on the site rail and on every report from this workspace. Press Save name to apply it. |
| PageSpeed API key | — | A Google Cloud API key with the PageSpeed Insights API turned on. It is stored encrypted, and after saving only its last four characters show. Leave the box blank to keep the saved key, or type a new one to replace it. |
Add the PageSpeed key#
Core Web Vitals and Chrome UX Report data (speed data from real Chrome users) are only measured once a key is saved.
- 1
Create a key in the Google Cloud console
In a Google Cloud project, turn on the PageSpeed Insights API. Then create an API key for that project.
- 2
Paste it into PageSpeed API key
Press Save PageSpeed settings. A message confirms the settings were saved.
- 3
Check the In effect line
The line under the field shows how many URLs per scan are measured and which key is in use. That number is set for the whole PixyScan service and cannot be changed here.
No key means no Core Web Vitals
A site can use its own key instead, under its Settings → Crawl → PageSpeed reports. To delete a single site, use the Danger zone tab in that site's Settings.
Does something here not match what you see in the app? Tell us